The party always ends when the bill arrives.
Your team ships a brilliant release. The dashboards glow a satisfying, healthy green. The celebratory GIFs echo through the Slack channels. For a few glorious days, you are a master of the universe, a conductor of digital symphonies.
And then it shows up. The AWS invoice doesn’t knock. It just appears in your inbox with the silent, judgmental stare of a Victorian governess who caught you eating dessert before dinner. You shipped performance, yes. You also shipped a small fleet of x86 instances that are now burning actual, tangible money while you sleep.
Engineers live in a constant tug-of-war between making things faster and making them cheaper. We’re told the solution is another coupon code or just turning off a few replicas over the weekend. But real, lasting savings don’t come from tinkering at the edges. They show up when you change the underlying math. In the world of AWS, that often means changing the very silicon running the show.
Enter a family of servers that look unassuming on the console but quietly punch far above their weight. Migrate the right workloads, and they do the same work for less money. Welcome to AWS Graviton.
What is this Graviton thing anyway?
Let’s be honest. The first time someone says “ARM-based processor,” your brain conjures images of your phone, or maybe a high-end Raspberry Pi. The immediate, skeptical thought is, “Are we really going to run our production fleet on that?”
Well, yes. And it turns out that when you own the entire datacenter, you can design a chip that’s ridiculously good at cloud workloads, without the decades of baggage x86 has been carrying around. Switching to Graviton is like swapping that gas-guzzling ’70s muscle car for a sleek, silent electric skateboard that somehow still manages to tow your boat. It feels wrong… until you see your fuel bill. You’re swapping raw, hot, expensive grunt for cool, cheap efficiency.
Amazon designed these chips to optimize the whole stack, from the physical hardware to the hypervisor to the services you click on. This control means better performance-per-watt and, more importantly, a better price for every bit of work you do.
The lineup is simple:
- Graviton2: The reliable workhorse. Great for general-purpose and memory-hungry tasks.
- Graviton3: The souped-up model. Faster cores, better at cryptography, and sips memory bandwidth through a wider straw.
- Graviton3E: The specialist. Tuned for high-performance computing (HPC) and anything that loves vector math.
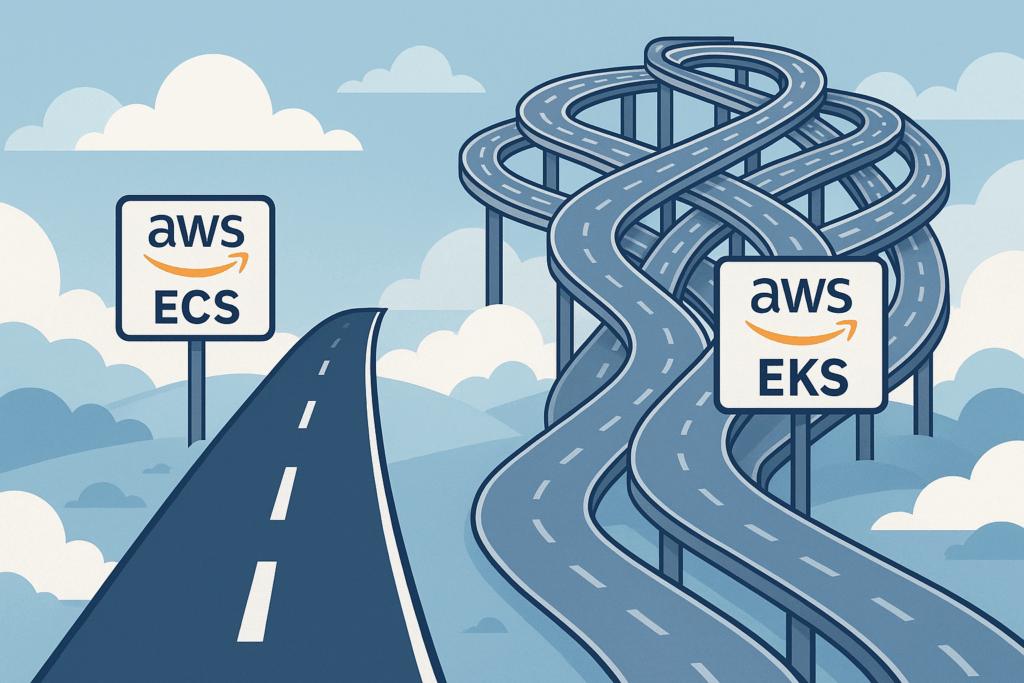
This isn’t some lab experiment. Graviton is already powering massive production fleets. If your stack includes common tools like NGINX, Redis, Java, Go, Node.js, Python, or containers on ECS or EKS, you’re already walking on paved roads.
The real numbers behind the hype
The headline from AWS is tantalizing. “Up to 40 percent better price-performance.” “Up to,” of course, are marketing’s two favorite words. It’s the engineering equivalent of a dating profile saying they enjoy “adventures.” It could mean anything.
But even with a healthy dose of cynicism, the trend is hard to ignore. Your mileage will vary depending on your code and where your bottlenecks are, but the gains are real.
Here’s where teams often find the gold:
- Web and API services: Handling the same requests per second at a lower instance cost.
- CI/CD Pipelines: Faster compile times for languages like Go and Rust on cheaper build runners.
- Data and Streaming: Popular engines like NGINX, Envoy, Redis, Memcached, and Kafka clients run beautifully on ARM.
- Batch and HPC: Heavy computational jobs get a serious boost from the Graviton3E chips.
There’s also a footprint bonus. Better performance-per-watt means you can hit your ESG (Environmental, Social, and Governance) goals without ever having to create a single sustainability slide deck. A win for engineering, a win for the planet, and a win for dodging boring meetings.
But will my stuff actually run on it?
This is the moment every engineer flinches. The suggestion of “recompiling for ARM” triggers flashbacks to obscure linker errors and a trip down dependency hell.
The good news? The water’s fine. For most modern workloads, the transition is surprisingly anticlimactic. Here’s a quick compatibility scan:
- You compile from source or use open-source software? Very likely portable.
- Using closed-source agents or vendor libraries? Time to do some testing and maybe send a polite-but-firm support ticket.
- Running containers? Fantastic. Multi-architecture images are your new best friend.
- What about languages? Java, Go, Node.js, .NET 6+, Python, Ruby, and PHP are all happy on ARM on Linux.
- C and C++? Just recompile and link against ARM64 libraries.
The easiest first wins are usually stateless services sitting behind a load balancer, sidecars like log forwarders, or any kind of queue worker where raw throughput is king.
A calm path to migration
Heroic, caffeine-fueled weekend migrations are for rookies. A calm, boring checklist is how professionals do it.
Phase 1: Test in a safe place
Launch a Graviton sibling of your current instance family (e.g., a c7g.large instead of a c6i.large). Replay production traffic to it or run your standard benchmarks. Compare CPU utilization, latency, and error rates. No surprises allowed.
Phase 2: Build for both worlds
It’s time to create multi-arch container images. docker buildx is the tool for the job. This command builds an image for both chip architectures and pushes them to your registry under a single tag.
# Build and push an image for both amd64 and arm64 from one command
docker buildx build \
  --platform linux/amd64,linux/arm64 \
  --tag $YOUR_ACCOUNT.dkr.ecr.$[REGION.amazonaws.com/my-web-app:v1.2.3](https://REGION.amazonaws.com/my-web-app:v1.2.3) \
  --push .
Phase 3: Canary and verify
Slowly introduce the new instances. Route just 5% of traffic to the Graviton pool using weighted target groups. Stare intently at your dashboards. Your “golden signals”, latency, traffic, errors, and saturation, should look identical across both pools.
Here’s a conceptual Terraform snippet of what that weighting looks like:
resource "aws_lb_target_group" "x86_pool" {
  name     = "my-app-x86-pool"
  # ... other config
}

resource "aws_lb_target_group" "arm_pool" {
  name     = "my-app-arm-pool"
  # ... other config
}

resource "aws_lb_listener_rule" "weighted_routing" {
  listener_arn = aws_lb_listener.frontend.arn
  priority     = 100

  action {
    type = "forward"

    forward {
      target_group {
        arn    = aws_lb_target_group.x86_pool.arn
        weight = 95
      }
      target_group {
        arn    = aws_lb_target_group.arm_pool.arn
        weight = 5
      }
    }
  }

  condition {
    path_pattern {
      values = ["/*"]
    }
  }
}
Phase 4: Full rollout with a parachute
If the canary looks healthy, gradually increase traffic: 25%, 50%, then 100%. Keep the old x86 pool warm for a day or two, just in case. It’s your escape hatch. Once it’s done, go show the finance team the new, smaller bill. They love that.
Common gotchas and easy fixes
Here are a few fun ways to ruin your Friday afternoon, and how to avoid them.
- The sneaky base image: You built your beautiful ARM application… on an x86 foundation. Your FROM amazonlinux:2023 defaulted to the amd64 architecture. Your container dies instantly. The fix: Explicitly pin your base images to an ARM64 version, like FROM –platform=linux/arm64 public.ecr.aws/amazonlinux/amazonlinux:2023.
- The native extension puzzle: Your Python, Ruby, or Node.js app fails because a native dependency couldn’t be built. The fix: Ensure you’re building on an ARM machine or using pre-compiled manylinux wheels that support aarch64.
- The lagging agent: Your favorite observability tool’s agent doesn’t have an official ARM64 build yet. The fix: Check if they have a containerized version or gently nudge their support team. Most major vendors are on board now.
A shift in mindset
For decades, we’ve treated the processor as a given, an unchangeable law of physics in our digital world. The x86 architecture was simply the landscape on which we built everything. Graviton isn’t just a new hill on that landscape; it’s a sign the tectonic plates are shifting beneath our feet. This is more than a cost-saving trick; it’s an invitation to question the expensive assumptions we’ve been living with for years.
You don’t need a degree in electrical engineering to benefit from this, though it might help you win arguments on Hacker News. All you really need is a healthy dose of professional curiosity and a good benchmark script.
So here’s the experiment. Pick one of your workhorse stateless services, the ones that do the boring, repetitive work without complaining. The digital equivalent of a dishwasher. Build a multi-arch image for it. Cordon off a tiny, five-percent slice of your traffic and send it to a Graviton pool. Then, watch. Treat your service like a lab specimen. Don’t just glance at the CPU percentage; analyze the cost-per-million-requests. Scrutinize the p99 latency.
If the numbers tell a happy story, you haven’t just tweaked a deployment. You’ve fundamentally changed the economics of that service. You’ve found a powerful new lever to pull. If they don’t, you’ve lost a few hours and gained something more valuable: hard data. You’ve replaced a vague “what if” with a definitive “we tried that.”
Either way, you’ve sent a clear message to that smug monthly invoice. You’re paying attention. And you’re getting smarter. Doing the same work for less money isn’t a stunt. It’s just good engineering.